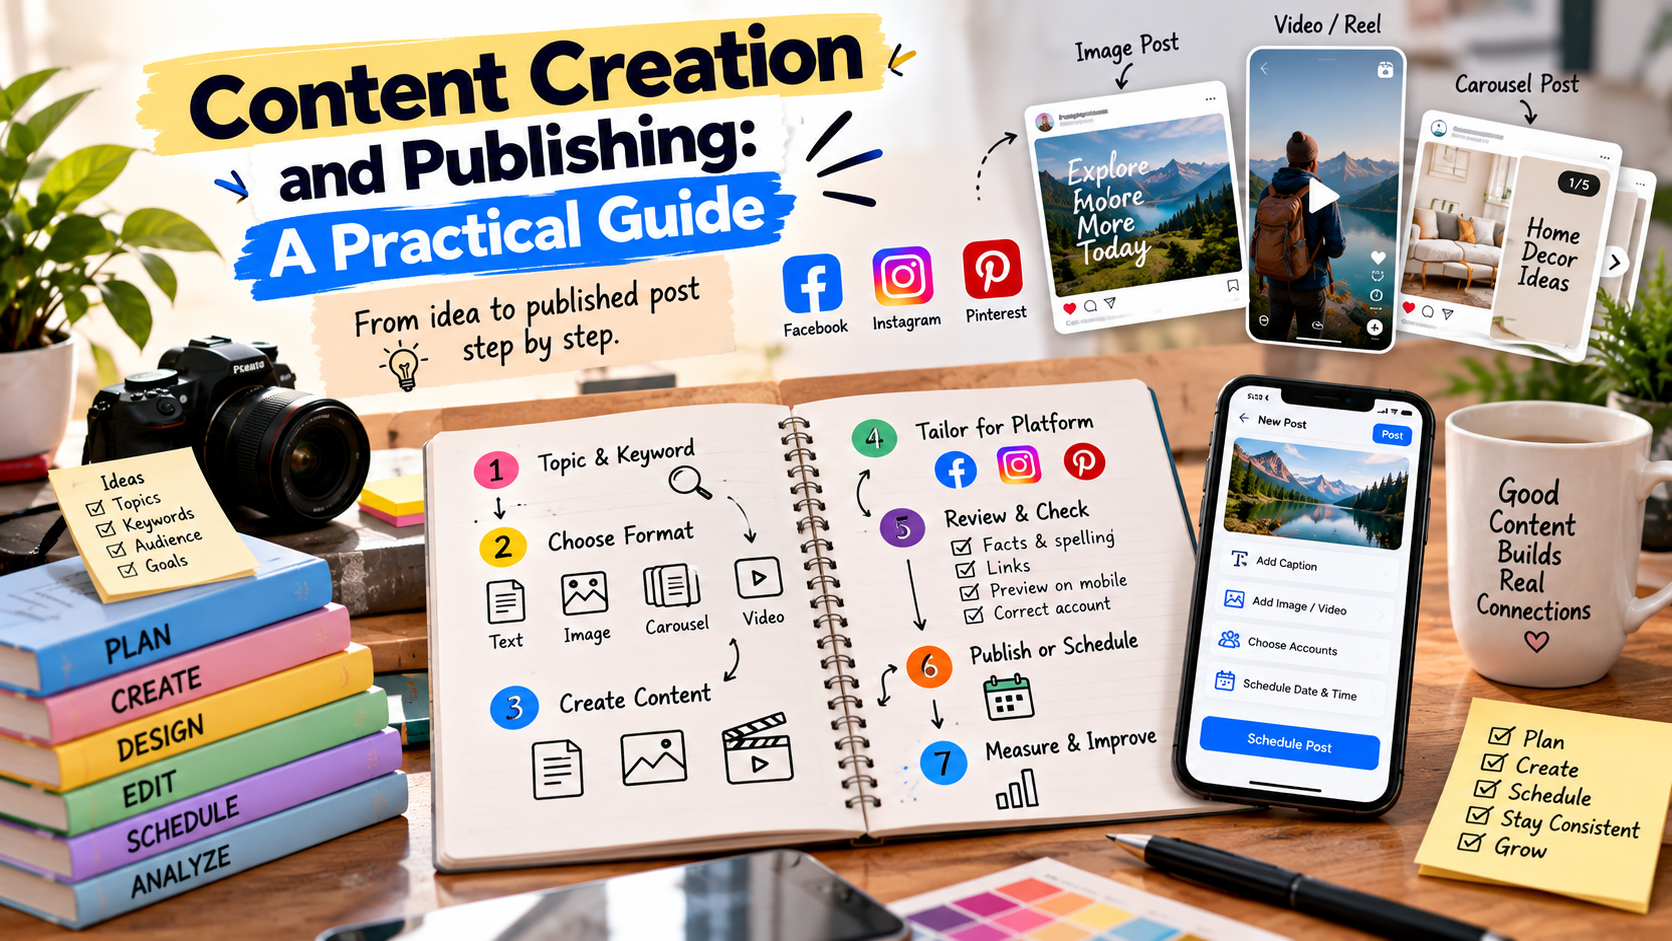
Good content takes more than a good idea. It needs a repeatable path from concept to published post. This guide walks through that path so you can create and publish consistently.
Step 1: Start with a topic and a keyword
Choose a topic your audience cares about and a keyword or phrase that describes it. This gives every later step a focus, whether you are writing a caption, designing an image or planning a video.
Step 2: Pick the right format
- Text: best for quick tips, questions and updates.
- Image: good for a single strong message or product visual.
- Carousel: ideal for step-by-step content or several related points.
- Video: useful for short, vertical demonstrations and reels.
Step 3: Create the content
Writing captions
Open with a line that makes the reader want to continue, deliver one clear point and end with a simple next step. Generated captions and hashtags can speed up the first draft, but you should always edit them.
Creating visuals
You can upload your own photos and artwork or generate an image or multi-image carousel from an idea. Keep a consistent look across your posts, using the same fonts and colour palette where possible.
Making short videos
Short vertical videos can be created from a keyword and caption. Keep the message simple, and watch the result before publishing.
Step 4: Tailor to the platform
Adjust length, format and tone for Facebook, Instagram or Pinterest. For Pinterest, add a clear title and description with relevant search terms and choose the right board. For Instagram, consider the first line of the caption and appropriate hashtags.
Step 5: Review before publishing
- Check facts, spelling and tone.
- Confirm that links open the intended page.
- Look at the image or video on a phone-sized screen.
- Make sure the correct account and board are selected.
Step 6: Publish or schedule
You can post immediately, or choose a date and time and let the post publish automatically. For ongoing content, set automation rules with keywords, content types and a schedule per account.
Step 7: Learn from the results
After publishing, check analytics and publishing history. Note what earned attention and what did not, then feed those lessons into your next round of content.
Build a repeatable routine
Many people find a weekly rhythm works well: plan on one day, create on another and schedule on a third. A routine keeps content flowing without constant effort. You can learn more about the dashboard on the How It Works page.
Share This Article
Was this article helpful?
Let us know so we can keep improving our guides.